Initial Setup
Once you've created a Clientping account and subscribed, you'll be presented with the setup wizard.
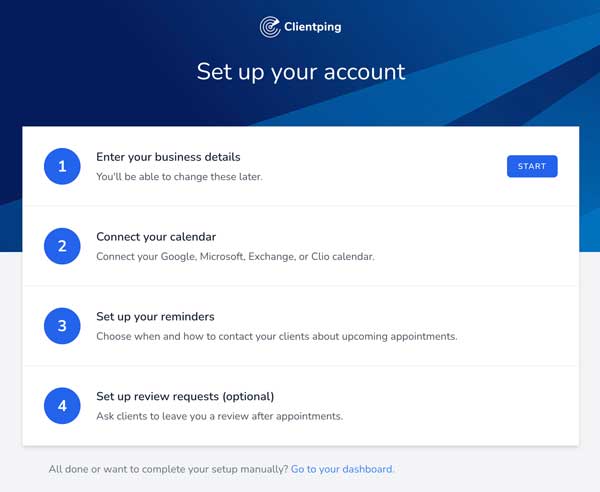
Enter your business details
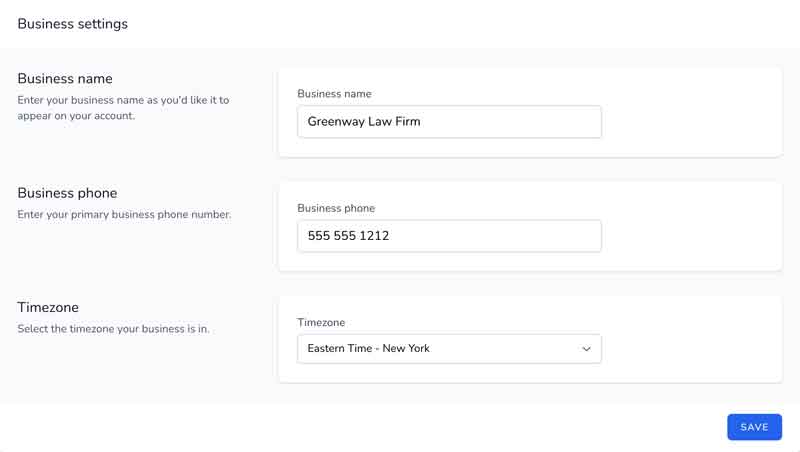
Your business name
This is mainly for your dashboard, you can set your message "from" preferences separately for each calendar.
Your main existing phone number
This is used to help set up your reminder messages and can be customized later.
Your timezone
This can be set individually for each calendar you connect later.
Choose your phone number
 Next, Clientping will ask you to choose a phone number. This is the phone number your text messages will come from. This number will be yours and yours alone. Select the number you'd like and click "select."
Set forwarding number
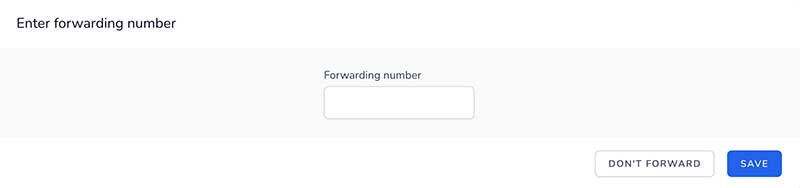 If your clients call the Clientping number instead of texting back, voice calls will be forwarded to this number. This should usually be your main business phone number.
Connect your calendar
Choose your calendar type
You'll be prompted to choose from Outlook, Exchange, Office 365, and Google.
When you click on the calendar type you want to add, you'll be redirected to the calendar site (like Microsoft Outlook) where you will need to log in to your existing calendar. If you are already logged in, it may skip this step and take you right to choosing which calendar to monitor.
Allow Clientping to connect to your account
After logging in to the existing calendar's account, you will be presented with a standard screen for allowing access for Clientping. Choose 'Allow access'. Clientping does not in any way share or access your data for ANY reason beyond sending reminders for your appointments. You can see our statement on privacy here.
Choose which calendar to monitor
 You'll be shown a list of the calendars connected to the account you chose above. Click the calendar Clientping should monitor. The main calendar is often just called "calendar." You can add more calendars in later steps.
Confirm your timezone
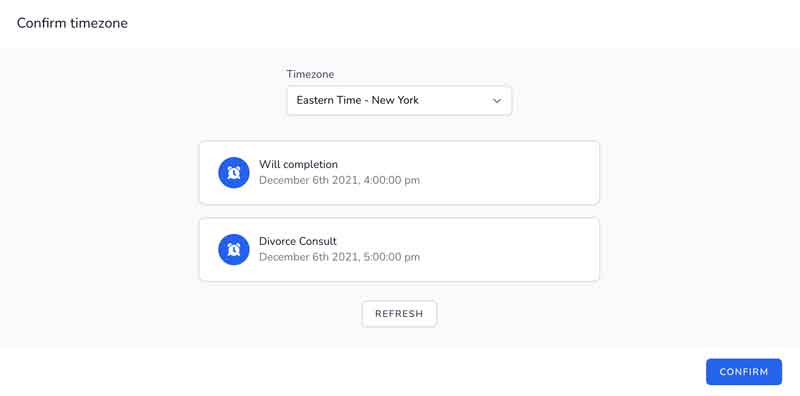 Clientping will show you a list of upcoming appointments over the next five days from the calendar you chose above. Make sure the time of the appointments is correct. If it is incorrect, choose the correct timezone. This setting is critical, as it determines what times will be displayed for your clients in reminder messages. If you don't have any upcoming appointments, add one to your calendar and click "refresh." Once you've confirmed the times are correct, click "confirm."
Set up your reminders
Clientping will ask you a series of questions on how and when you want to remind your clients. You can add to or change these rules later in each calendar's settings.
Do you want to send reminders for only your events or all calendar events?
If you choose "Only My Events", reminders and other messages will only be sent to events on this calendar that contain a phone number in the title and are added by the calendar owner. If you choose "All Events", Clientping will send reminders for any appointment with a phone number in the title even if the calendar owner is just an invitee. If you are monitoring a shared calendar, or you want to have Clientping process all appointments on this calendar whether the owner was the creator or not, choose "All Events". You can also change this setting later.
How many days before an appointment would you like to remind your clients?
Most firms choose 1, but 2 and 3 are also common. You can also add multiple reminders later too.
Do you want your appointment titles to reflect their status?
If you choose yes, when a client is sent a reminder, "REMINDED" will be appended to the beginning of the appointment title on your calendar. If you choose to allow clients to confirm and decline appointments in the next step, the appointment title will also be updated with "CONFIRMED" or "DECLINED". Most firms choose yes.
Do you want clients to be able to confirm appointments?
Clients will have the option to text back YES or NO to the reminder text message to let you know if they are coming. Most firms choose yes, as this will keep you informed of the appointment status.
If you chose "yes" above, you'll be asked: Do you want clients who decline to be able to reschedule with Clientping?
If you choose yes, clients that decline an appointment will be given a link that will let them move the appointment to another open slot on your calendar. In the next step you will set your availability that clients can schedule inside of. Clientping uses this availability, but also checks to make sure you don't have anything else scheduled in the spot before allowing the client to reschedule. Most firms choose yes.
If you chose to enable client rescheduling, you'll be asked to set your available hours.
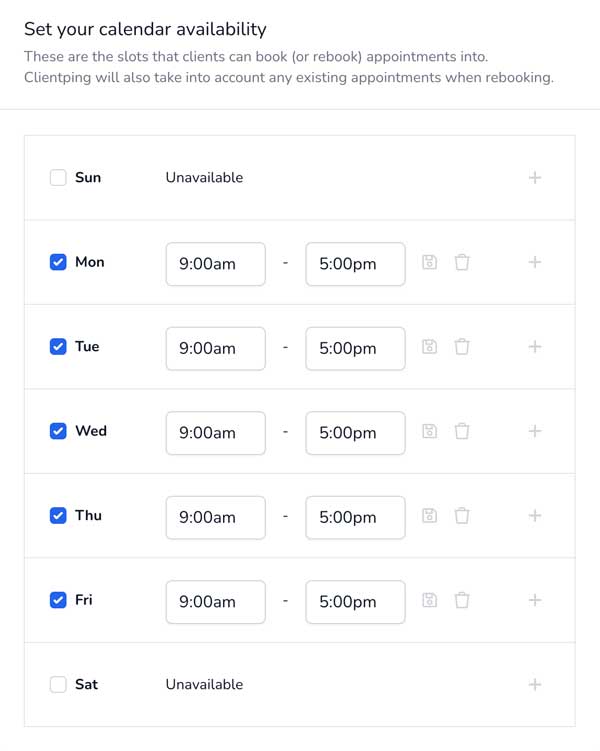
These are the slots that clients can book (or rebook) appointments in. Clientping will also take into account any existing appointments when rebooking.
What email address would you like for notifications?
When a client replies to a text message with more than "yes" or "no", any extra message will be emailed to you at this address. If you chose to confirm appointments, this email address will also receive a message when a client declines their appointment including the client and meeting details. If you chose to allow clients to reschedule when declining an appointment, you will also receive an email letting you know when the client reschedules, and when they rescheduled to.
Are you ready to turn on reminders for this calendar?
If you choose yes, Clientping will begin polling your calendar for appointments with phone numbers in the titles. You'll be able to turn this on manually on your dashboard later if you choose no. You can also edit your reminder messages and other settings in the dashboard.
Set up review requests (optional)
If enabled, following each appointment Clientping can ask your clients to leave you a review. The client gets a text or email with the wording and link of your choice.
How many days after an appointment would you like to ask clients to leave you a review?
Most firms choose 7, but firms commonly choose something between 1 day after and 10 days after.
Edit your review request text message
This is the message clients will receive via text the number of days you chose above after their appointment. You'll need to include a link to the review site of your choice. If you are a Repsight for Attorneys customer, you can use Repsight's service to manage collecting these reviews. Paste your Repsight link in place of (paste your link review here). This link can be found on your repsight.com business settings page. Clientping users can use coupon code CLIENTPING at Repsight.com when signing up to receive 20% off. To sign up for Repsight or for more information, click here. If you are not a Repsight customer, paste the link to the review site of your choice in place of (paste your link review here), but please be aware, without Repsight if you turn this on ALL of your appointments with phone numbers will be prompted to leave you a public review with no filtering of possible upset clients.
Are you ready to turn on review requests for this calendar?
If you choose yes, Clientping will begin polling your calendar for appointments with phone numbers in the titles to send them review requests the number of days you chose above after the appointment. You'll be able to turn this on manually on your dashboard later if you choose no. You can also edit more settings in the dashboard.
Contine on to: Calendars